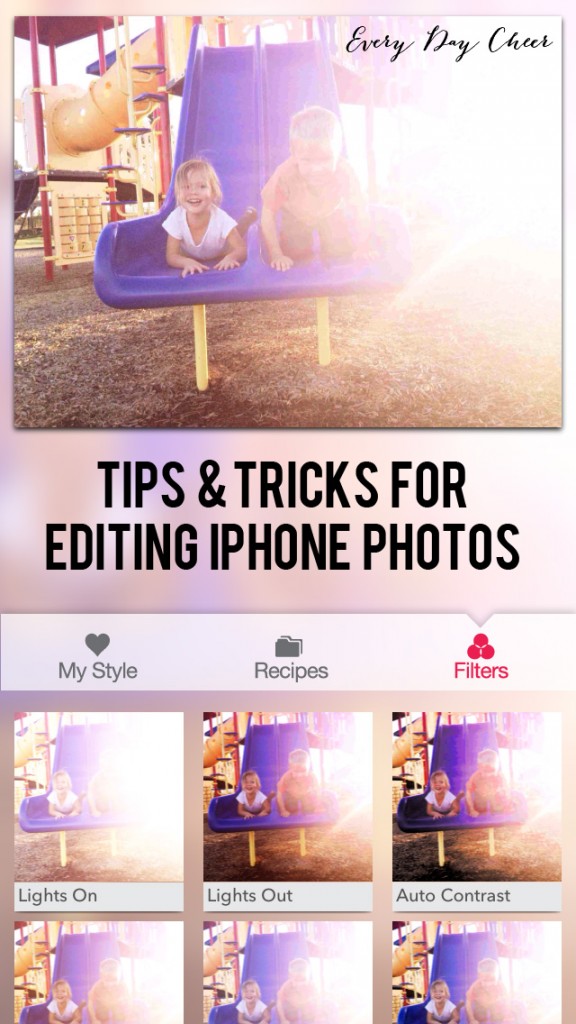
There are so many photo editing apps you can choose from but my very favorite is PicTapGo. PicTapGo is created by the makers of Totally Rad Photoshop Actions which I use to edit all of my photos from my digital SLR. I absolutely love it.
Category Archives: Photography TipsThere are so many photo editing apps you can choose from but my very favorite is PicTapGo. PicTapGo is created by the makers of Totally Rad Photoshop Actions which I use to edit all of my photos from my digital SLR. I absolutely love it.
They say that the best camera is the one you have with you. With the advancements in cell phone cameras mixed with the fun of Instagram I tend to capture the majority of my family’s memories on my iPhone camera. So, today, I wanted to share you with you some tips on how to take better iPhone photos:
(1) Use the camera app - Take the photo with your phone’s camera app…not the Instagram app. You’re able to lock in focus, change your exposure, and take full-size pictures this way. (2) Tap to focus & adjust exposure - tapping on what you want in focus not only allows for a crisp shot it also will adjust your exposure. If your subject looks too dark or or too bright simply tap a dark area to lighten or a light area to darken. (3) Lighting is everything - great, natural light not only creates a beautiful image it will result in crisper images. Taking pictures of your child in low light almost always results in a blurred image. If you’re inside try opening up the windows or standing near a window to allow for more light.
If you’re outside try for open shade or back light your image to reduce shadows on the face. Back lighting means that the sun (or light source) is behind your subject. Simply tap on a dark spot in your image to lighten your subject.
(4) Ditch the flash - If it’s daytime, go outside or near a window. If it’s evening then seek another light source such as lamps or overhead lights.
(5) Composition - Get creative!
(6) Get in the picture: One of the benefits of iPhone or Smartphone cameras is that they have self-facing options which means Mama is able to get in the shot. They are also easy to hand off to another person. To be honest, most of the pictures of me with my children are taken this way.
Next week we’ll talk about the dos and don’ts of editing your iPhone images. So stay tuned!
During every Mamarazzi class I tell our students to take time to document what their children are currently into. As we all know this time is fleeting and they outgrow toys, clothes, and habits daily. I like to sit down and write a list of things that my kids love to make sure I capture it. Ella is obsessed with coloring. She sits down at the table to color a few pages in her coloring book every day. I love how she sticks her tongue out when she’s concentrating:
I see people everywhere with digital SLR cameras. Today, I wanted to share with you 5 mistakes I see most people make:
As we take down our tree and get our house back in order after the holidays I’m always determined to get organized. Photos are often overlooked when it comes to organization. So, today, I want to share with you a system that I have in place for making sure my photos stay backed up and organized.
|
|
.jpg)
.jpg)


.jpg)


